Vorbereitung
- VPS mit Ubuntu 20.04/22.04/24.04 oder Debian 11/12.
- Benutzer mit sudo, SSH-Zugang.
- Domain (für HTTPS) und offene Ports 80/443 im Panel des Providers.
Installation von Nginx und Schnellcheck
					sudo apt update && sudo apt -y upgrade
sudo apt -y install nginx
sudo systemctl enable --now nginx
curl -I http://127.0.0.1

Wir erwarten 200 OK-Header. Die Nginx-Startseite befindet sich normalerweise in /var/www/html/.
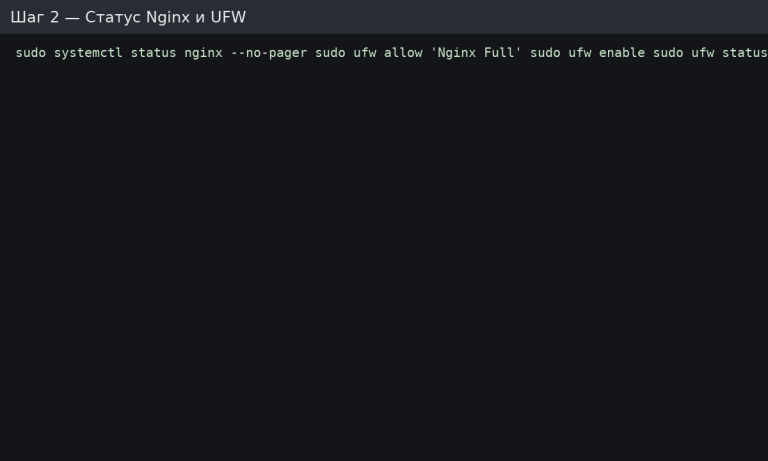
Wir lassen HTTP/HTTPS in UFW zu und überprüfen den Dienst.
					sudo systemctl status nginx --no-pager
sudo ufw allow 'Nginx Full'   # Opens 80 and 443
sudo ufw enable
sudo ufw status
Wenn UFW nicht verwendet wird, stellen Sie sicher, dass 80/443 in der Cloud-Firewall/im Provider-Panel geöffnet sind.
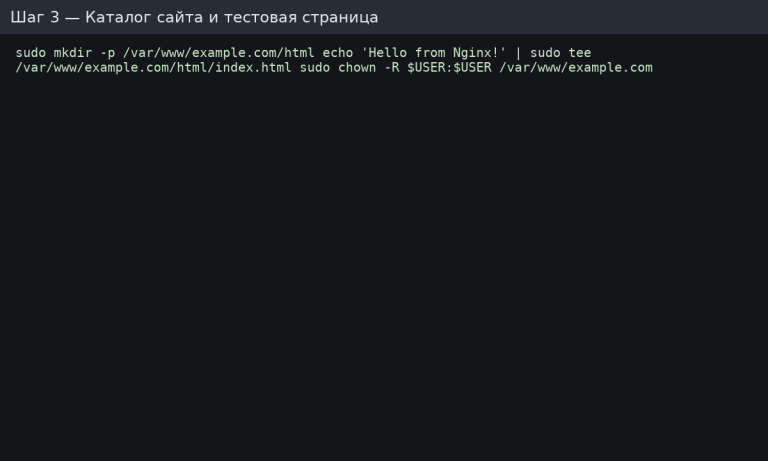
Erstellen Sie ein Website-Verzeichnis und eine Testseite.
					sudo mkdir -p /var/www/example.com/html
echo 'Hello from Nginx!' | sudo tee /var/www/example.com/html/index.html
sudo chown -R $USER:$USER /var/www/example.com
Wir empfehlen ein separates Verzeichnis für jede Domain: /var/www/<domain>/html.
Erstellen Sie einen Serverblock (Website-Konfiguration)
Datei /etc/nginx/sites-available/example.com:
					server {
  listen 80;
  server_name example.com www.example.com;

  root /var/www/example.com/html;
  index index.html index.php;

  location / {
    try_files $uri $uri/ =404;
  }
}

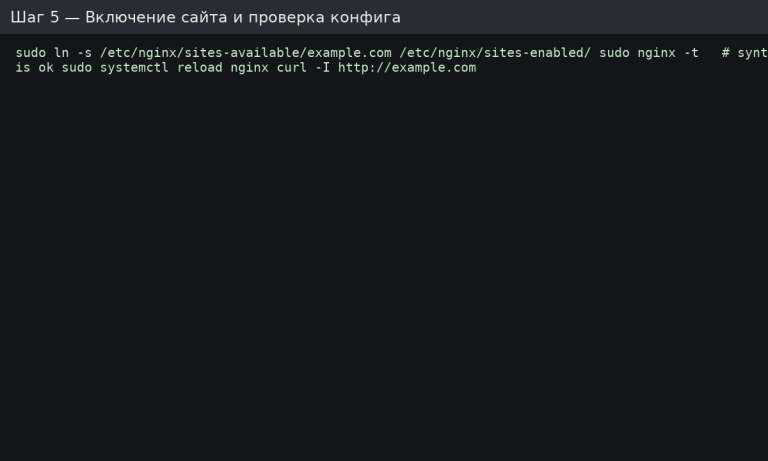
Wir schalten die Website ein, überprüfen die Syntax und laden sie neu.
					sudo ln -s /etc/nginx/sites-available/example.com /etc/nginx/sites-enabled/
sudo nginx -t     # syntax is ok
sudo systemctl reload nginx
curl -I http://example.com
Wenn nginx -t Fehler anzeigt, korrigieren Sie die Konfiguration (Stammverzeichnis, Domänennamen, schließende Klammern usw.).
Gzip und grundlegende Sicherheitsheader
Erstellen Sie die Datei /etc/nginx/conf.d/optimizations.conf:
					# Gzip (standard types)
gzip on;
gzip_comp_level 5;
gzip_min_length 1024;
gzip_types text/plain text/css application/json application/javascript application/xml text/xml application/rss+xml image/svg+xml;

# Security-headings (basic)
add_header X-Frame-Options SAMEORIGIN always;
add_header X-Content-Type-Options nosniff always;
add_header Referrer-Policy strict-origin-when-cross-origin always;
Konfiguration neu starten:
sudo nginx -t && sudo systemctl reload nginx

Für die Produktion sollten Sie CSP/Permissions-Policy in Betracht ziehen – testen Sie jedoch Schritt für Schritt, um das Frontend nicht zu „übersehen“.
HTTPS in 2 Minuten (Let’s Encrypt)
					sudo apt -y install certbot python3-certbot-nginx
sudo certbot --nginx -d example.com -d www.example.com
# automatic renewal of certificates
systemctl status certbot.timer
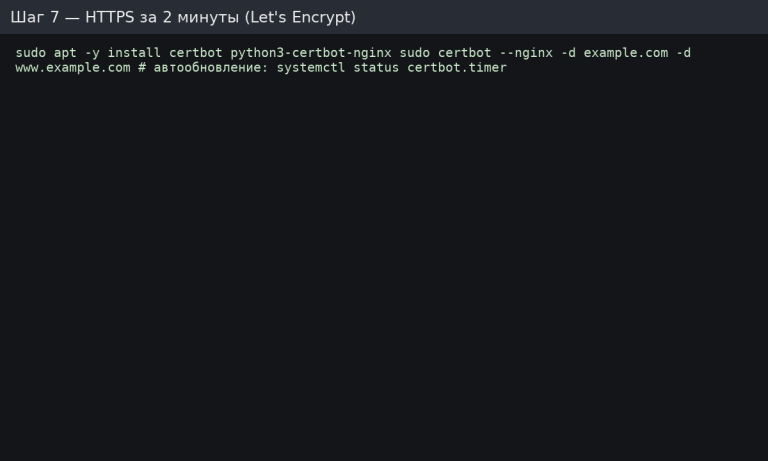
Certbot schreibt eine 301-Weiterleitung zu HTTPS und erstellt einen Auftrag für die automatische Verlängerung. Überprüfen Sie https://example.com.
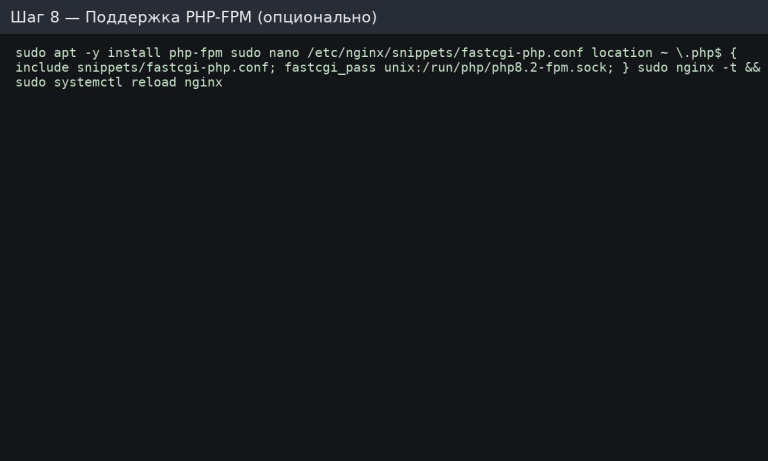
PHP-FPM-Unterstützung (optional)
Installieren Sie FPM und verbinden Sie es mit Nginx:
sudo apt -y install php-fpm
Fügen Sie in der Website-Konfiguration (/etc/nginx/sites-available/example.com) den folgenden Block hinzu:
					location ~ \.php$ {
  include snippets/fastcgi-php.conf;
  fastcgi_pass unix:/run/php/php8.2-fpm.sock;   # check the actual version
}
Wir überprüfen und lesen noch einmal durch:
sudo nginx -t && sudo systemctl reload nginx
Zur Überprüfung erstellen Sie die Datei /var/www/example.com/html/info.php mit <?php phpinfo(); ?>, öffnen Sie sie in einem Browser und löschen Sie anschließend die Datei.
Protokolle und schnelle Problemanalyse
- Fehler: /var/log/nginx/error.log
- Zugriff: /var/log/nginx/access.log
- Schnelle Anzeige der letzten Zeilen: sudo tail -n 200 /var/log/nginx/error.log
Einheiten und Ports überprüfen:
					 sudo systemctl status nginx
sudo ss -tulpn | grep -E ':80|:443'
Checkliste vor dem Start
- Site-Verzeichnis erstellt, Eigentümer/Rechte sind korrekt.
- Serverblock-Konfiguration gespeichert, nginx -t — OK.
- HTTP/HTTPS in UFW/Firewall geöffnet.
- Gzip und grundlegende Sicherheitsheader aktiviert.
- HTTPS von Let’s Encrypt ausgestellt, automatische Aktualisierung aktiviert.
- (Falls PHP erforderlich) – PHP-FPM verbunden, info.php entfernt.
Kurz für AlmaLinux/Rocky/CentOS (RHEL-Familie)
					sudo dnf -y install nginx
sudo systemctl enable --now nginx
sudo firewall-cmd --add-service=http --add-service=https --permanent
sudo firewall-cmd --reload
# catalogs/configurations:
# root usually /usr/share/nginx/html або /var/www/<domain>/html
# configs: /etc/nginx/nginx.conf and /etc/nginx/conf.d/*.conf
sudo dnf -y install certbot python3-certbot-nginx
sudo certbot --nginx -d example.com -d www.example.com
sudo dnf -y install php-fpm
# fastcgi_pass unix:/run/php-fpm/www.sock (or your own way)


