准备工作
- 运行Ubuntu 20.04/22.04/24.04或Debian 11/12的VPS。
- 具备sudo权限的用户,SSH访问权限。
- 域名(用于HTTPS)及在访问提供商控制面板中开放80/443端口。
安装Nginx并快速验证
					sudo apt update && sudo apt -y upgrade
sudo apt -y install nginx
sudo systemctl enable --now nginx
curl -I http://127.0.0.1

我们期待200个OK状态码。Nginx的首页通常位于/var/www/html/目录下。
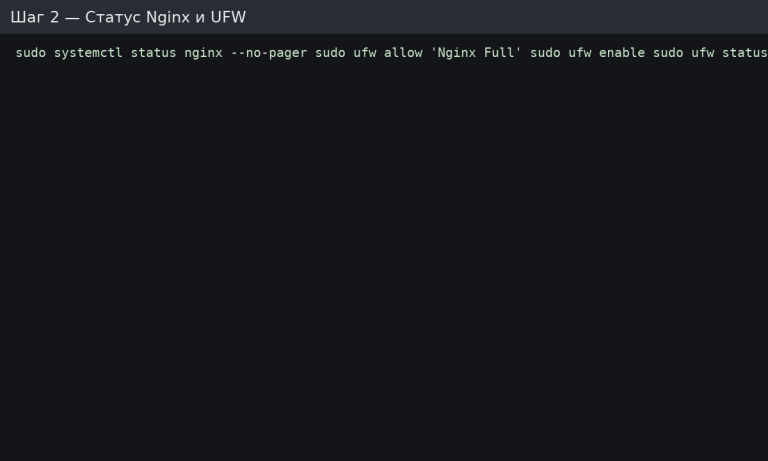
我们在UFW中授权HTTP/HTTPS协议,并验证服务状态。
					sudo systemctl status nginx --no-pager
sudo ufw allow 'Nginx Full'   # Opens 80 and 443
sudo ufw enable
sudo ufw status
若未使用 UFW,请确保防火墙/服务商控制面板中已开放 80/443 端口。
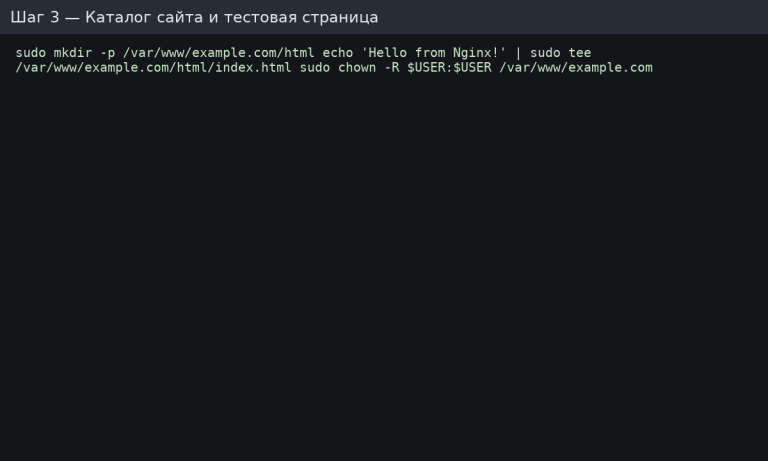
创建网站目录及测试页面。
					sudo mkdir -p /var/www/example.com/html
echo 'Hello from Nginx!' | sudo tee /var/www/example.com/html/index.html
sudo chown -R $USER:$USER /var/www/example.com
我们建议为每个域名创建独立目录:/var/www/<域名>/html。
创建服务器块(网站配置)
文件 /etc/nginx/sites-available/example.com:
					server {
  listen 80;
  server_name example.com www.example.com;

  root /var/www/example.com/html;
  index index.html index.php;

  location / {
    try_files $uri $uri/ =404;
  }
}

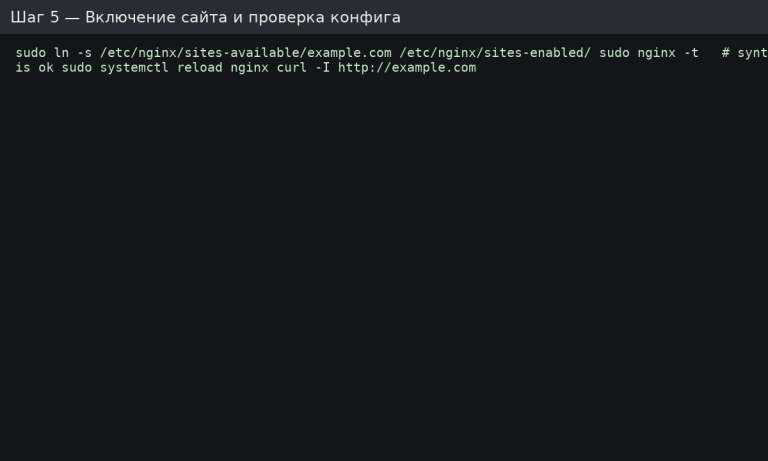
我们激活网站,验证语法并重新加载。
					sudo ln -s /etc/nginx/sites-available/example.com /etc/nginx/sites-enabled/
sudo nginx -t     # syntax is ok
sudo systemctl reload nginx
curl -I http://example.com
如果 nginx -t 显示错误,请修正配置(根目录、域名、闭合括号等)。
Gzip 和基本安全标头
创建文件 /etc/nginx/conf.d/optimizations.conf:
					# Gzip (standard types)
gzip on;
gzip_comp_level 5;
gzip_min_length 1024;
gzip_types text/plain text/css application/json application/javascript application/xml text/xml application/rss+xml image/svg+xml;

# Security-headings (basic)
add_header X-Frame-Options SAMEORIGIN always;
add_header X-Content-Type-Options nosniff always;
add_header Referrer-Policy strict-origin-when-cross-origin always;
重置设置:
sudo nginx -t && sudo systemctl reload nginx

对于生产环境,应考虑CSP/权限策略,但需分阶段实施,以免“忽视”前端。
两分钟实现HTTPS(Let’s Encrypt)
					sudo apt -y install certbot python3-certbot-nginx
sudo certbot --nginx -d example.com -d www.example.com
# automatic renewal of certificates
systemctl status certbot.timer
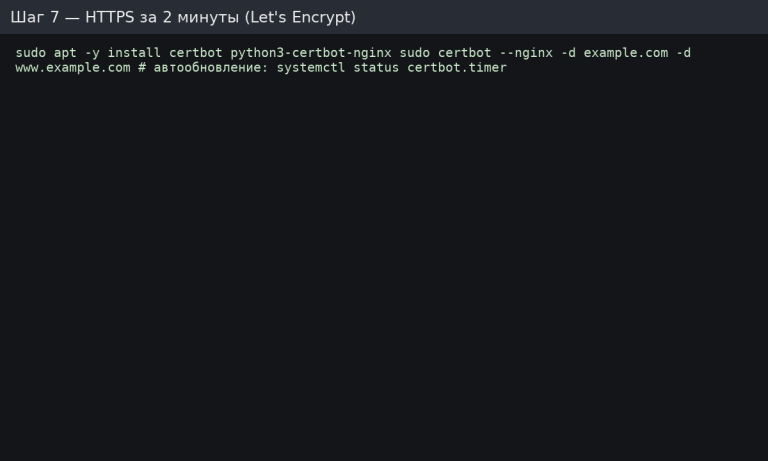
Certbot 会写入指向 HTTPS 的 301 重定向并创建自动续期任务。请访问 https://example.com 进行验证。
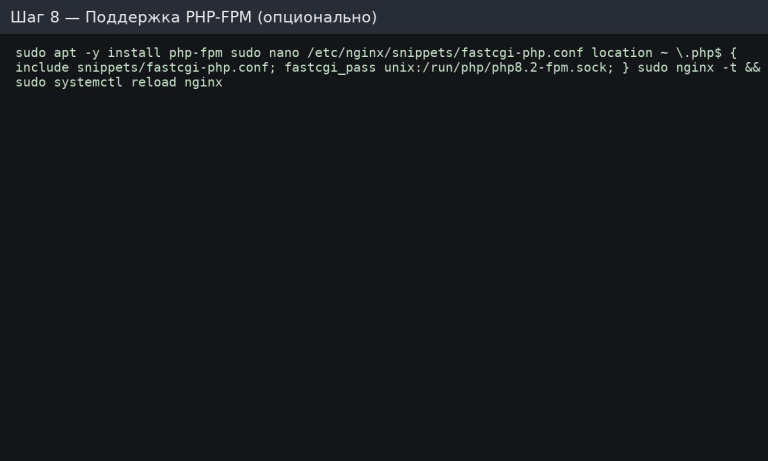
PHP-FPM 兼容性(可选)
安装 FPM 并将其连接至 Nginx:
sudo apt -y install php-fpm
在网站配置文件(/etc/nginx/sites-available/example.com)中添加以下代码块:
					location ~ \.php$ {
  include snippets/fastcgi-php.conf;
  fastcgi_pass unix:/run/php/php8.2-fpm.sock;   # check the actual version
}
我们核查并审核:
sudo nginx -t && sudo systemctl reload nginx
要验证此操作,请创建文件 /var/www/example.com/html/info.php 并写入内容 <?php phpinfo(); ?>,在浏览器中打开该文件后将其删除。
日志与快速故障排查
- 错误日志:/var/log/nginx/error.log
- 访问日志:/var/log/nginx/access.log
- 快速查看最新日志行:sudo tail -n 200 /var/log/nginx/error.log
检查设备和端口:
					 sudo systemctl status nginx
sudo ss -tulpn | grep -E ':80|:443'
启动前检查清单
- 站点目录已创建,所有者/权限正确。
- 服务器块配置已注册,nginx -t — OK。
- UFW/防火墙已开放HTTP/HTTPS端口。
- Gzip压缩及基础安全头已启用。
- Let’s Encrypt签发的HTTPS证书,自动更新功能已启用。
- (如需PHP)– PHP-FPM已连接,info.php文件已删除。
AlmaLinux/Rocky/CentOS(RHEL家族)简要说明
					sudo dnf -y install nginx
sudo systemctl enable --now nginx
sudo firewall-cmd --add-service=http --add-service=https --permanent
sudo firewall-cmd --reload
# catalogs/configurations:
# root usually /usr/share/nginx/html або /var/www/<domain>/html
# configs: /etc/nginx/nginx.conf and /etc/nginx/conf.d/*.conf
sudo dnf -y install certbot python3-certbot-nginx
sudo certbot --nginx -d example.com -d www.example.com
sudo dnf -y install php-fpm
# fastcgi_pass unix:/run/php-fpm/www.sock (or your own way)


