LAMP (Linux + Apache + MySQL/MariaDB + PHP) is a classic and reliable stack for websites, APIs, and many popular CMS platforms. In this guide, you’ll set up Apache, secure MySQL, install PHP modules, configure an Apache virtual host, verify PHP ↔ database connectivity, and optionally enable HTTPS with Let’s Encrypt.
For production projects, start with a stable Linux VPS that has enough CPU/RAM and disk performance so the web server and database remain responsive under load.
Tip: run the initial update first. It reduces installation issues and applies security fixes.
sudo apt update && sudo apt -y upgradesudo apt install -y apache2
sudo systemctl enable --now apache2
# Quick checks
sudo systemctl status apache2 --no-pager
curl -I http://127.0.0.1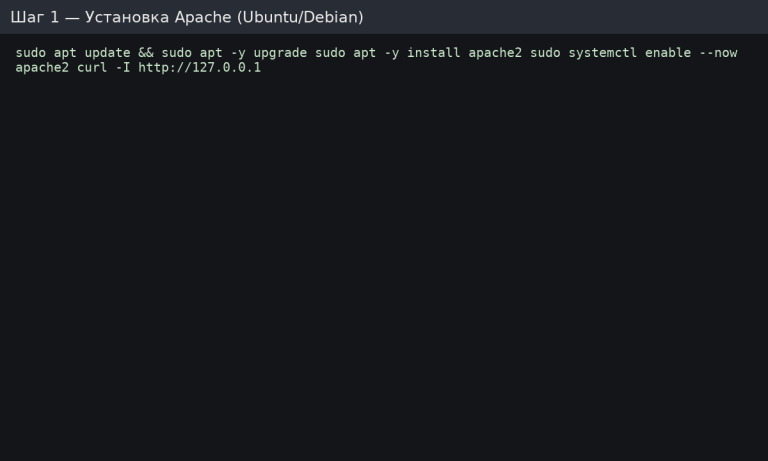
You should see HTTP/1.1 200 OK. The default web root is usually /var/www/html/.
If you use UFW (Ubuntu/Debian), apply a “deny incoming by default” policy and allow only required ports. Always allow SSH first to avoid locking yourself out.
sudo apt install -y ufw

# Safe defaults
sudo ufw default deny incoming
sudo ufw default allow outgoing

# Allow SSH first
sudo ufw allow OpenSSH

# Allow Apache ports
sudo ufw allow 'Apache Full'

# Enable and verify
sudo ufw enable
sudo ufw status verbose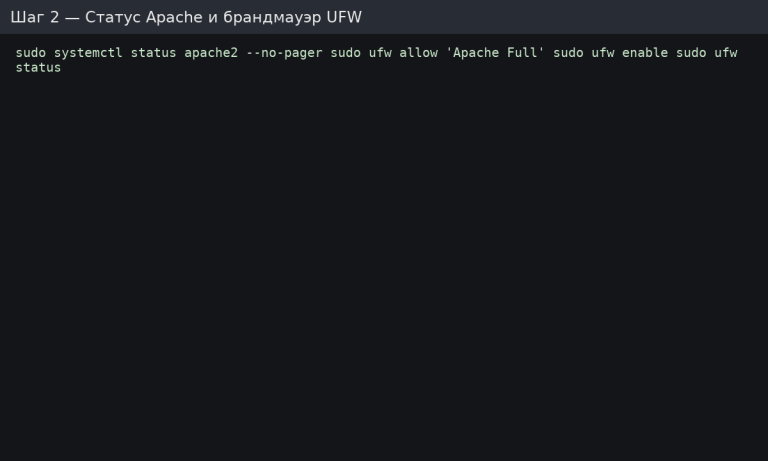
If you are not using UFW, make sure ports 80/443 are allowed in your provider’s cloud firewall/security group.
On Debian/Ubuntu, mysql-server installs MySQL (often with secure default auth). If you prefer MariaDB, you can install mariadb-server instead.
sudo apt install -y mysql-server
sudo systemctl enable --now mysql

# Security hardening wizard
sudo mysql_secure_installation
Recommended answers in mysql_secure_installation:

Create a dedicated database and a dedicated user with only the required privileges. Avoid using the MySQL root account in applications.
sudo mysqlInside the MySQL console:
CREATE DATABASE appdb CHARACTER SET utf8mb4 COLLATE utf8mb4_unicode_ci;

CREATE USER 'appuser'@'localhost' IDENTIFIED BY 'STRONG_PASSWORD_HERE';

GRANT ALL PRIVILEGES ON appdb.* TO 'appuser'@'localhost';

FLUSH PRIVILEGES;

EXIT;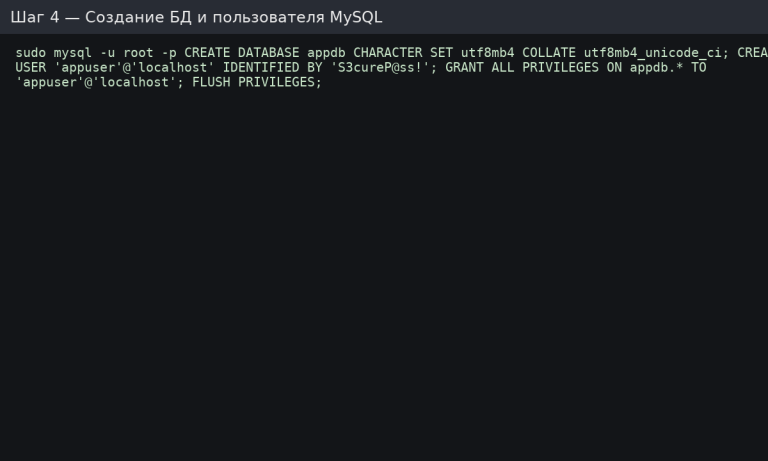
Security note: for remote database access, use a separate user like 'appuser'@'%' only if you really need it, and then lock it down with firewall rules and MySQL bind settings. In most cases, keep MySQL private and local.
Install PHP and common modules used by CMS and frameworks. You can add more later depending on your application.
sudo apt install -y php libapache2-mod-php php-mysql php-cli php-curl php-xml php-mbstring php-zip php-gd php-intlCreate a temporary phpinfo() file to verify PHP is working through Apache:
echo "<?php phpinfo(); ?>" | sudo tee /var/www/html/info.phpOpen http://<IP>/info.php in a browser and confirm the page loads. Then delete the file (leaving it is a security risk):
sudo rm -f /var/www/html/info.php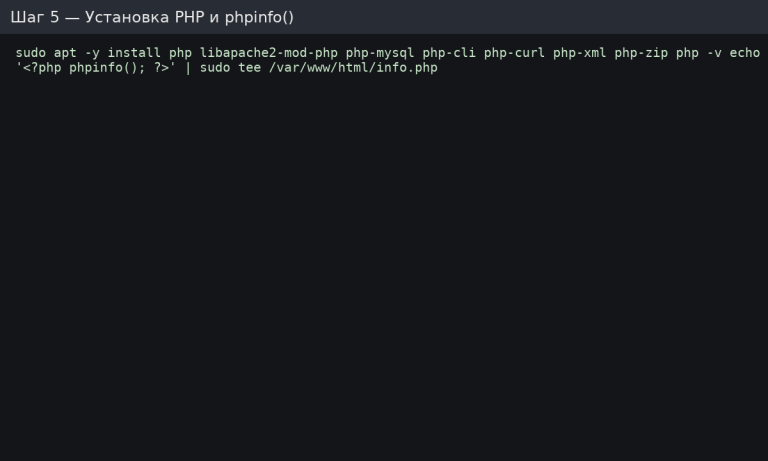
For production, it’s best to create a separate directory per domain and configure a dedicated virtual host.
# Replace example.com with your domain
sudo mkdir -p /var/www/example.com/public_html
sudo chown -R $USER:$USER /var/www/example.com
sudo chmod -R 755 /var/www/example.com

# Simple test page
echo "<?php echo 'Hello from LAMP!'; ?>" > /var/www/example.com/public_html/index.php
Create the configuration file /etc/apache2/sites-available/example.com.conf:
sudo nano /etc/apache2/sites-available/example.com.confExample virtual host:
<VirtualHost *:80>
    ServerName example.com
    ServerAlias www.example.com

    DocumentRoot /var/www/example.com/public_html

    <Directory /var/www/example.com/public_html>
        Options FollowSymLinks
        AllowOverride All
        Require all granted
    </Directory>

    ErrorLog ${APACHE_LOG_DIR}/example.com-error.log
    CustomLog ${APACHE_LOG_DIR}/example.com-access.log combined
</VirtualHost>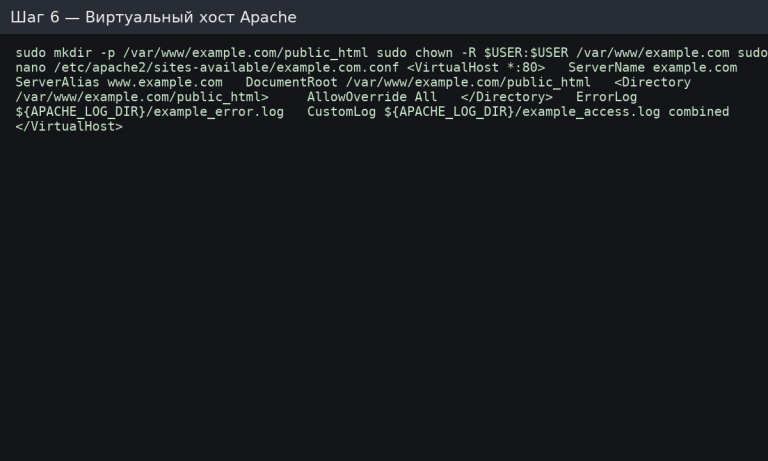
Note: AllowOverride All is needed only if you use .htaccess (rewrites, caching rules, etc.). If you don’t need it, set AllowOverride None for better performance and security.
sudo a2ensite example.com.conf
sudo a2enmod rewrite headers

# Optional: disable default site to avoid conflicts
# sudo a2dissite 000-default.conf

sudo apache2ctl configtest
sudo systemctl reload apache2
Now open your domain (or server IP) and confirm that Hello from LAMP! loads.
Create /var/www/example.com/public_html/dbtest.php (use your DB name/user/password):
<?php
$dsn = 'mysql:host=localhost;dbname=appdb;charset=utf8mb4';
$user = 'appuser';
$pass = 'STRONG_PASSWORD_HERE';

try {
    $pdo = new PDO($dsn, $user, $pass, [
        PDO::ATTR_ERRMODE => PDO::ERRMODE_EXCEPTION,
        PDO::ATTR_DEFAULT_FETCH_MODE => PDO::FETCH_ASSOC,
    ]);
    echo "1";
} catch (Throwable $e) {
    http_response_code(500);
    echo "DB connection failed";
}
Open http://example.com/dbtest.php → you should see 1. Then remove the file (it’s only for testing):
rm -f /var/www/example.com/public_html/dbtest.php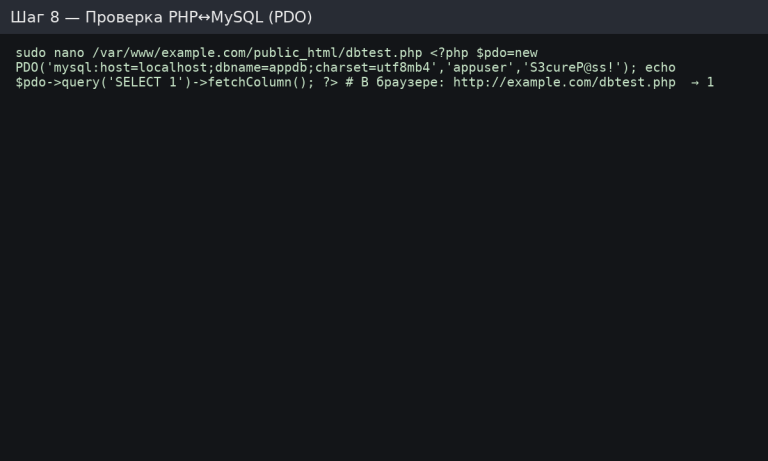
If your domain points to the server and port 80 is reachable, install a free certificate with Certbot. It will also configure redirects and auto-renewal.
sudo apt update
sudo apt install -y certbot python3-certbot-apache

sudo certbot --apache -d example.com -d www.example.com --redirect
  --agree-tos -m admin@example.com --no-eff-email

# Test renewal
sudo certbot renew --dry-runEdit your Apache PHP config (path depends on version): /etc/php/*/apache2/php.ini. Recommended baseline:
expose_php = Offmemory_limit = 256M (adjust to your app load)upload_max_filesize and post_max_size according to your CMSdate.timezone = UTC (or your local timezone)sudo systemctl reload apache2On RHEL-based systems, Apache is httpd, the DB is commonly MariaDB, and firewall is typically firewalld.
sudo dnf -y update
sudo dnf install -y httpd mariadb-server php php-mysqlnd php-cli php-gd php-mbstring php-xml php-opcache

sudo systemctl enable --now httpd mariadb

# Open firewall
sudo firewall-cmd --permanent --add-service=http
sudo firewall-cmd --permanent --add-service=https
sudo firewall-cmd --reload

# Check Apache
curl -I http://127.0.0.1
Virtual host configs are typically placed in /etc/httpd/conf.d/ (e.g., /etc/httpd/conf.d/example.com.conf), then reload httpd.
info.php, dbtest.php) are removed.Need a stable platform for Apache + MySQL + PHP? Start with a reliable Linux VPS and deploy a clean LAMP stack in under an hour using the steps above.