
Nginx is a fast and reliable web server and reverse proxy. In this guide you’ll install Nginx, create a site configuration (server block), enable HTTPS with Let’s Encrypt, add basic performance settings, and optionally connect PHP-FPM.
For production websites, choose a stable Linux VPS with enough CPU/RAM and fast storage so Nginx and your application remain responsive under traffic spikes.
Install Nginx, enable it on boot, and check the HTTP response.
sudo apt update
sudo apt install -y nginx
sudo systemctl enable --now nginx

# Check status
sudo systemctl status nginx --no-pager

# Quick HTTP check (local)
curl -I http://127.0.0.1
You should see HTTP/1.1 200 OK. The default Nginx start page is typically located in /var/www/html/.
If you use UFW on Ubuntu/Debian, allow web traffic. (If you don’t use UFW, ensure ports 80/443 are open in your provider firewall panel.)
sudo apt install -y ufw

# Allow SSH first (avoid lockout)
sudo ufw allow OpenSSH

# Allow web
sudo ufw allow 'Nginx Full'

# Enable if not enabled yet
sudo ufw enable
sudo ufw status verbose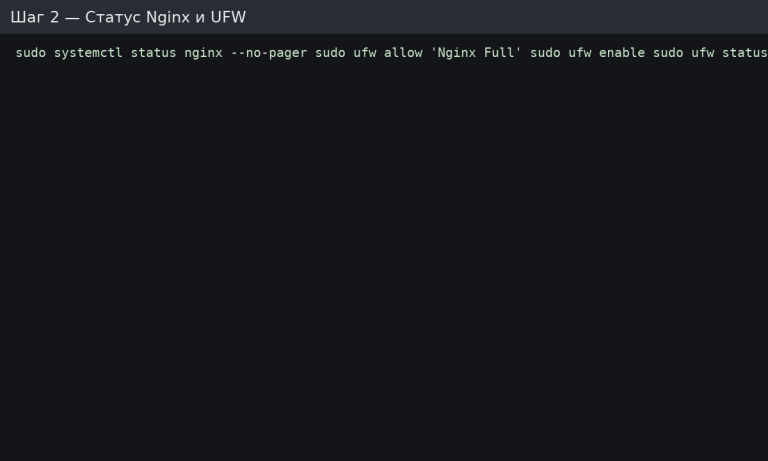
Best practice: keep each domain in its own directory, for example /var/www/<domain>/html.
sudo mkdir -p /var/www/example.com/html
sudo chown -R $USER:$USER /var/www/example.com/html
sudo chmod -R 755 /var/www/example.com

# Simple test page
echo "<!doctype html><html><head><meta charset='utf-8'><title>example.com</title></head><body><h1>Nginx is working</h1></body></html>" > /var/www/example.com/html/index.html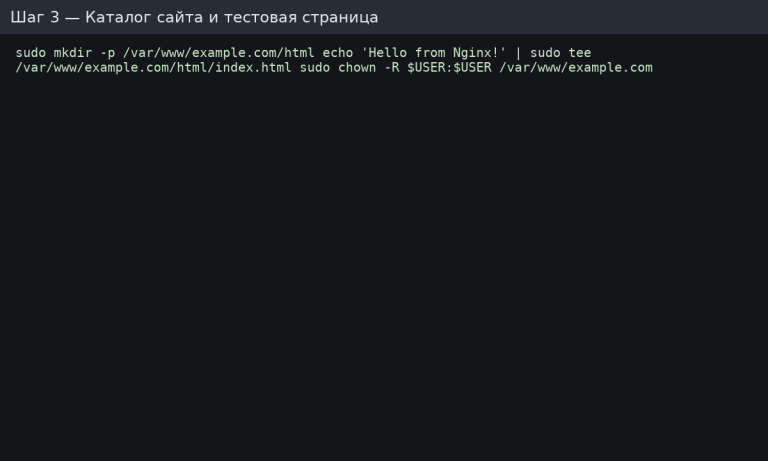
Create the file /etc/nginx/sites-available/example.com:
sudo nano /etc/nginx/sites-available/example.comPaste this minimal configuration (replace example.com with your domain):
server {
    listen 80;
    listen [::]:80;

    server_name example.com www.example.com;

    root /var/www/example.com/html;
    index index.html index.htm;

    access_log /var/log/nginx/example.com.access.log;
    error_log  /var/log/nginx/example.com.error.log;

    location / {
        try_files $uri $uri/ =404;
    }
}
# Enable site
sudo ln -s /etc/nginx/sites-available/example.com /etc/nginx/sites-enabled/

# Optional: disable default site if it conflicts
# sudo rm -f /etc/nginx/sites-enabled/default

# Check config syntax
sudo nginx -t

# Reload
sudo systemctl reload nginx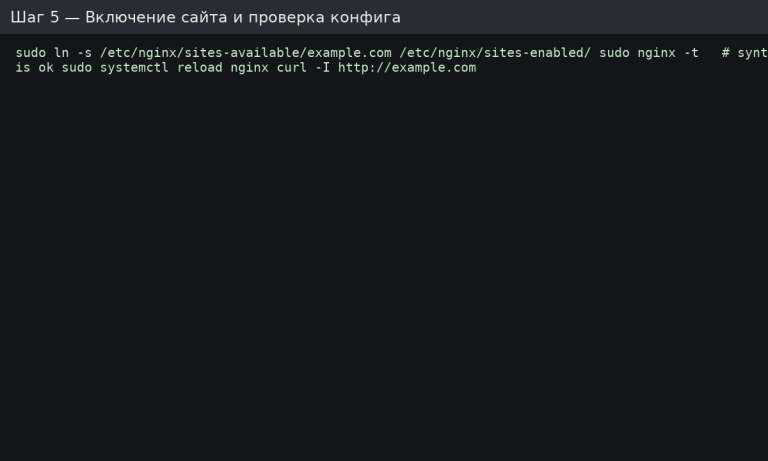
If nginx -t shows errors, check: root path, server_name, braces/semicolons, and file permissions.
Create /etc/nginx/conf.d/optimizations.conf to enable gzip and a few safe headers. This is a reasonable baseline for many sites.
sudo nano /etc/nginx/conf.d/optimizations.confPaste:
# Hide Nginx version
server_tokens off;

# Gzip compression (baseline)
gzip on;
gzip_comp_level 5;
gzip_min_length 1024;
gzip_vary on;
gzip_proxied any;
gzip_types
  text/plain
  text/css
  text/xml
  application/json
  application/javascript
  application/xml
  application/xml+rss
  image/svg+xml;

# Basic security headers (safe defaults)
add_header X-Content-Type-Options "nosniff" always;
add_header X-Frame-Options "SAMEORIGIN" always;
add_header Referrer-Policy "strict-origin-when-cross-origin" always;
Reload configuration:
sudo nginx -t
sudo systemctl reload nginx
Note: For production, consider CSP and Permissions-Policy, but introduce them step-by-step to avoid breaking the frontend.
Once DNS points to your VPS and port 80 is open, issue a free TLS certificate with Certbot.
sudo apt update
sudo apt install -y certbot python3-certbot-nginx

# Issue certificate (replace domain + email)
sudo certbot --nginx -d example.com -d www.example.com --redirect
  --agree-tos -m admin@example.com --no-eff-email

# Test auto-renewal
sudo certbot renew --dry-run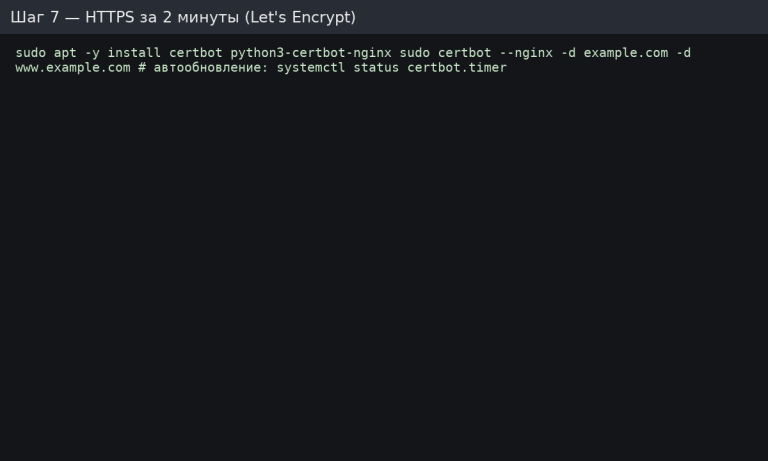
Certbot typically creates HTTPS configuration and adds a 301 redirect to HTTPS. Verify in a browser: https://example.com.
If you run PHP applications (WordPress, Laravel, etc.), install PHP-FPM and connect it to Nginx.
sudo apt update
sudo apt install -y php-fpm

# Find the PHP-FPM socket name (version differs)
ls -la /run/php/
Edit your site config (/etc/nginx/sites-available/example.com) and add a PHP block. Replace the socket path with the one you found (example below uses php8.2-fpm.sock).
location ~ .php$ {
    include snippets/fastcgi-php.conf;
    fastcgi_pass unix:/run/php/php8.2-fpm.sock;
}

location ~ /.ht {
    deny all;
}
Check and reload:
sudo nginx -t
sudo systemctl reload nginx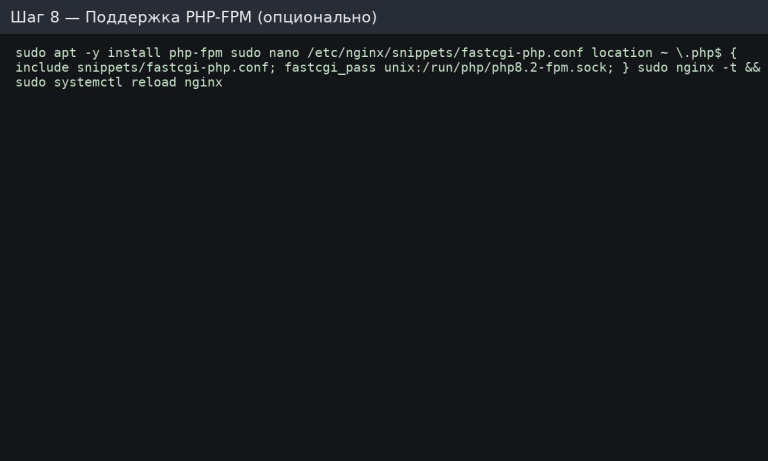
Test quickly (and then delete):
echo "<?php phpinfo(); ?>" > /var/www/example.com/html/info.phpOpen https://example.com/info.php, confirm it works, then delete the file:
rm -f /var/www/example.com/html/info.php/var/log/nginx/error.log (and per-site error logs if configured)/var/log/nginx/access.log (and per-site access logs)sudo tail -n 200 /var/log/nginx/error.logCheck service and listening ports:
sudo systemctl status nginx --no-pager
ss -tulpn | grep -E ':80|:443' || truenginx -t returns OKinfo.php removedOn RHEL-based systems, Nginx config is often placed in /etc/nginx/conf.d/ (instead of sites-available / sites-enabled). Firewall is typically firewalld.
sudo dnf install -y nginx
sudo systemctl enable --now nginx

# Open firewall
sudo firewall-cmd --permanent --add-service=http
sudo firewall-cmd --permanent --add-service=https
sudo firewall-cmd --reload

# Server block example file:
# /etc/nginx/conf.d/example.com.conf
sudo nginx -t
sudo systemctl reload nginxNeed a stable platform for Nginx, HTTPS, and your application stack? Start with a reliable Linux VPS and deploy Nginx in minutes using the steps above.