SSH is the standard and most secure way to manage a Linux server remotely. In this guide you’ll learn how to connect with a password (quick start), how to switch to key-based login (recommended), and how to troubleshoot common SSH errors.
If you don’t have a server yet, start with a reliable Linux VPS or choose a plan from our VPS hosting lineup for quick deployment and stable connectivity.
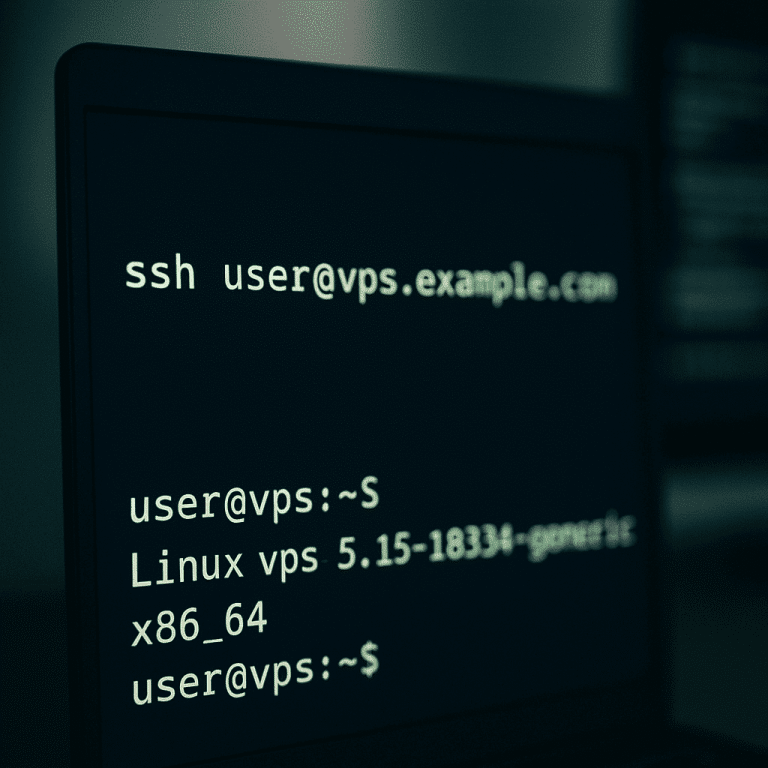
ssh in Terminal.Use this method for the first login or when keys are not configured yet. Replace USERNAME and SERVER_IP with your values.
ssh USERNAME@SERVER_IPIf your SSH port is not 22 (example: 2222):
ssh -p 2222 USERNAME@SERVER_IPOn first connection, SSH will ask to confirm the server’s host key fingerprint. Confirm only if you trust the source of the IP (provider panel / your own deployment). The fingerprint is saved locally in ~/.ssh/known_hosts.
Key-based authentication is more secure than passwords and is the standard for production servers. You generate a key pair locally, then upload only the public key to the VPS.
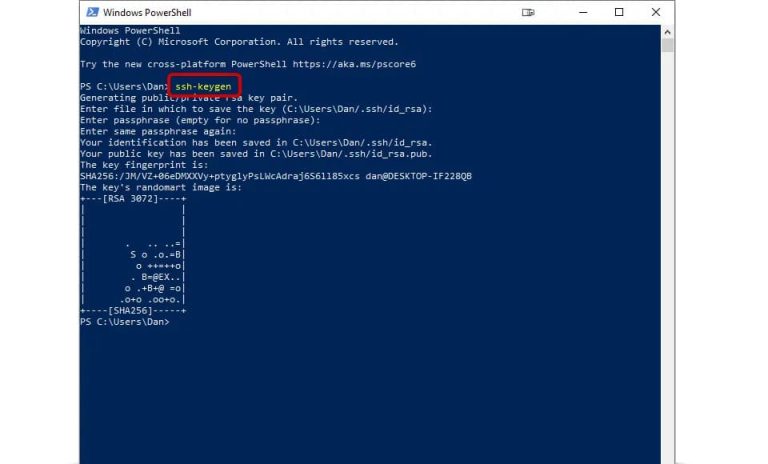
Windows 10/11 (PowerShell / Windows Terminal), macOS, Linux:
ssh-keygen -t ed25519 -a 64By default, keys are saved to:
C:UsersYOURNAME.ssh~/.ssh/Important: the private key has no extension (keep it secret). The public key ends with .pub (copy it to the server).
macOS/Linux (and Windows with OpenSSH tools available):
ssh-copy-id -i ~/.ssh/id_ed25519.pub USERNAME@SERVER_IPThis appends the key to ~/.ssh/authorized_keys on the server and sets safe permissions automatically.
Login via password first, then create the SSH directory and add your public key.
# On the VPS
mkdir -p ~/.ssh
chmod 700 ~/.ssh
# Paste your PUBLIC key into the file (one line)
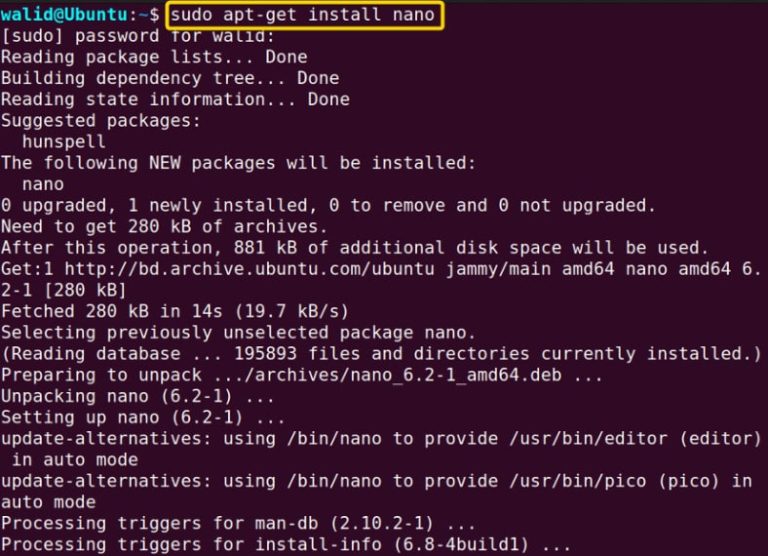
nano ~/.ssh/authorized_keys
chmod 600 ~/.ssh/authorized_keysDo not copy the private key. If permissions are wrong (~/.ssh not 700 or authorized_keys not 600), you may get Permission denied (publickey).
Basic connection (usually works without extra flags if the key is in ~/.ssh/):
ssh USERNAME@SERVER_IPIf you need to specify the key file and/or port:
ssh -i ~/.ssh/id_ed25519 -p 2222 USERNAME@SERVER_IPTo avoid typing parameters every time, create a profile in ~/.ssh/config (Windows also supports it):
# File: ~/.ssh/config

Host myvps
  HostName SERVER_IP
  User USERNAME
  Port 22
  IdentityFile ~/.ssh/id_ed25519
Now you can connect with:
ssh myvps.ppk, then in PuTTY go to Connection → SSH → Auth and select the private key file.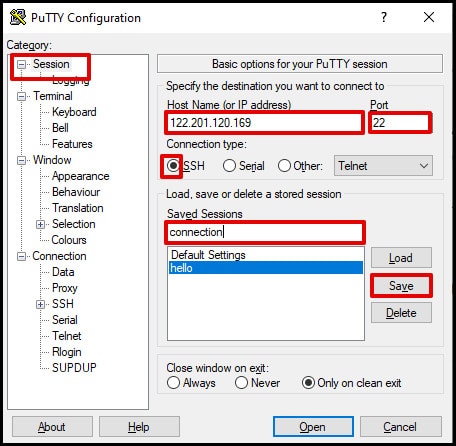
Windows (PowerShell):
Test-NetConnection SERVER_IP -Port 22macOS/Linux:
nc -vz SERVER_IP 22IdentityFile.~/.ssh/known_hosts.-i or use a dedicated Host entry in ~/.ssh/config.After confirming key-based login works, harden SSH: disable root login and password auth. Keep one SSH session open while applying changes.
sudo nano /etc/ssh/sshd_configRecommended baseline:
PermitRootLogin no
PasswordAuthentication no
PubkeyAuthentication yes

# Optional: restrict who can connect
# AllowUsers USERNAME
# or
# AllowGroups sshusers

MaxAuthTries 3
LoginGraceTime 30
Validate and reload SSH (Ubuntu/Debian):
sudo sshd -t
sudo systemctl reload ssh
RHEL-based systems often use sshd service name:
sudo sshd -t
sudo systemctl reload sshdSCP (copy a local file to the server):
scp ./backup.tar.gz USERNAME@SERVER_IP:/home/USERNAME/SCP (copy from server to local):
scp USERNAME@SERVER_IP:/var/log/syslog ./syslogSFTP (interactive file manager over SSH):
sftp USERNAME@SERVER_IPSSH key authentication + hardened SSH settings is the standard baseline for production servers. Start with a reliable Linux VPS or browse our VPS hosting plans to deploy a server and connect securely in minutes.