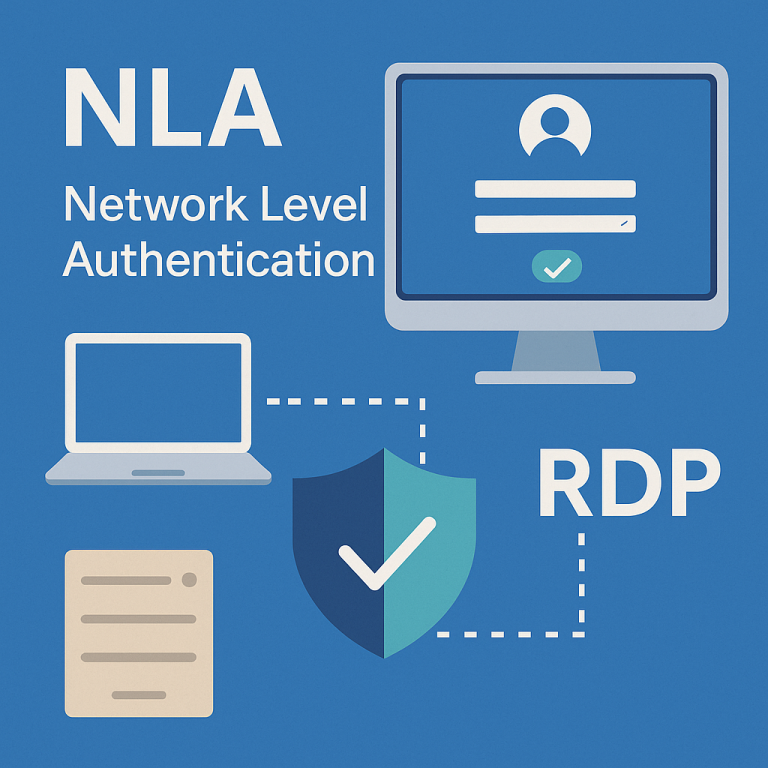
Introduction
Network Level Authentication (NLA) is a mechanism for pre-authentication when connecting to a remote desktop. It protects the server from unauthorized access and reduces the risk of attacks before a full session is established. Today, it has become a security standard in corporate IT environments.
However, on older systems such as Windows XP, NLA requires manual configuration. In this article, we will discuss how to enable Network Level Authentication on different versions of Windows and why it is necessary.
What is Network Level Authentication
NLA requires the client to pass authentication before starting an RDP session. This differs from the old approach, where the connection was established immediately and the credentials were only verified afterwards. Key benefits:
- Enhanced security — protection against password guessing and MITM attacks.
- Reduced server load — resources are not wasted on unconfirmed connections.
How to enable NLA in Windows
Enabling Network Level Authentication (NLA) depends on the version of the operating system. Below are detailed instructions for Windows 10/11, server versions, and Windows XP SP3. During setup, be sure to check the compatibility of the RDP client, the availability of updates, and the correct operation of services.
Windows 10 / 11 / Server 2016 and newer
Option 1: Through the graphical interface
- Open the system properties:
- Press Win + R, enter SystemPropertiesRemote and press Enter.
- Or: Start → Control Panel → System → Advanced system settings → Remote tab.
2. Find the “Remote Desktop” block.
3. Select the option:
“Allow connections only from computers verified by network security (recommended)”.
4. Click Apply and OK.
Option 2: Through the registry editor
- Open regedit as an administrator.
2. Go to the following path:
HKEY_LOCAL_MACHINE\SYSTEM\CurrentControlSet\Control\Terminal Server\WinStations\RDP-Tcp
3. Find the UserAuthentication setting. If it is not there, create a DWORD (32-bit) value with this name.
4. Set the value to 1 (enabled).
5. Restart the server or the Remote Desktop Service (TermService).
Option 3: Through PowerShell
Open PowerShell as an administrator and run:
Set-ItemProperty -Path 'HKLM:\SYSTEM\CurrentControlSet\Control\Terminal Server\WinStations\RDP-Tcp' -Name 'UserAuthentication' -Value 1
Windows Server 2008 / 2012 / 2019 / 2022
Configuring NLA on server operating systems is similar to desktop operating systems:
- Start Server Manager.
2. Go to: Local Server → Remote Desktop
3. Click “Disabled” next to Remote Desktop → select:
- “Allow connections only from computers running Remote Desktop with Network Level Authentication”
4. Apply the settings.
Also make sure that:
- Remote Desktop Services roles are installed.
- The user has permission for RDP access (is a member of the Remote Desktop Users group).
- A valid SSL certificate is used (for RDP-Tcp).
Windows XP SP3 (client only)
Windows XP cannot be an NLA-enabled server, but it can connect to other systems where NLA is enabled if the following conditions are met:
Step 1: Update the RDP client
Download and install Remote Desktop Connection Client 6.1 or later (for example, from the Microsoft website or Windows Update).
Step 2: Install CredSSP support
CredSSP (Credential Security Support Provider) is required for network-level authentication. To enable it:
- Install update KB951608 (available from the Microsoft website).
2. After installation, edit the registry:
[HKEY_LOCAL_MACHINE\SYSTEM\CurrentControlSet\Control\Lsa]
"Security Packages"=hex(7):43,00,72,00,65,00,64,00,45,00,53,00,53,00,50,00,00,00
The CredSSP value is added to the security package list.
3. Restart your computer.
Step 3: Configure group policy
If you are using local policy (in Windows XP Pro):
- Open gpedit.msc.
2. Go to: Computer Configuration → Administrative Templates → System → Credentials Delegation
3. Enable:
- “Allow delegating saved credentials with NTLM-only server authentication”
- “Allow delegating fresh credentials”
- Add the value: TERMSRV/*
4. Apply and restart the system.
Additional recommendations
- Make sure that Windows Firewall or antivirus software is not blocking port 3389.
- On the server OS, check the service status:
- The Remote Desktop Services (TermService) service must be in the Running state.
- For domain systems, it is better to configure settings via GPO.
Common errors and solutions
Error | Reason | How to fix |
NLA required | Old customer | Update RDP to 6.1+ |
Security protocol not supported | Incompatible OS | Check CredSSP support |
Access denied | No entry | Add the user to the desired group |
Tips for using NLA
- Enable NLA by default on all new installations.
- Use group policies for centralized configuration.
- Regularly update clients and servers to the latest versions.
Conclusion
Configuring NLA is a mandatory step for anyone using a remote desktop. It minimizes risks and ensures the security of your corporate infrastructure. Even on older systems, it is possible to connect to secure RDP servers with the right configuration.